Epson WorkForce Cheque Printing Setup
Use the rear paper feed on your Epson WorkForce to print flawlessly aligned cheques for any bank.

Global Cheque Printer
Required Browser
Physical Size: 203mm x 93mm
CRITICAL: Set Print Scale to "Default" or "100%"
Mac, Windows, iOS, and Android standalone apps are in active development. Take your printing offline soon!
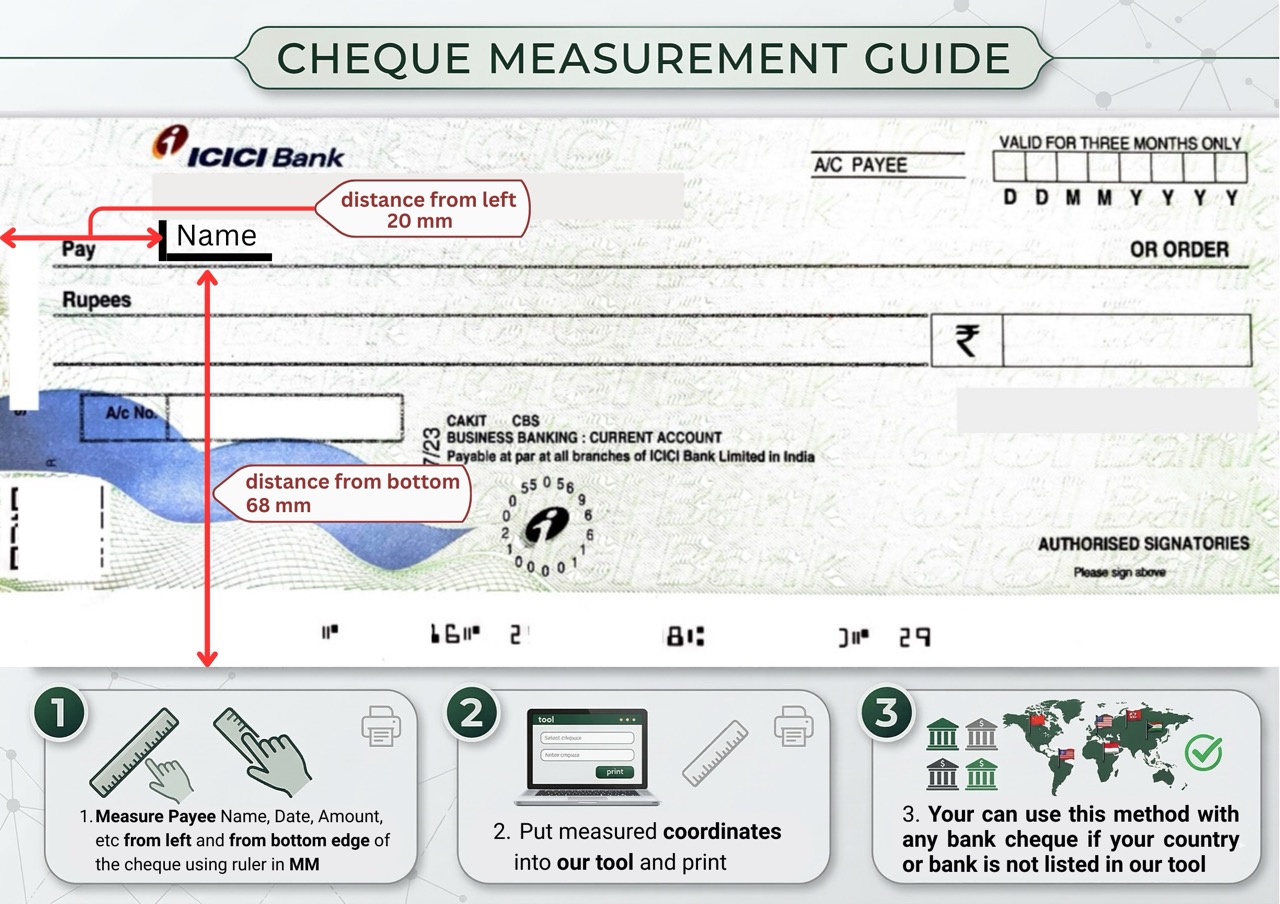
How it works
Align & Print in 4 Steps
Generate your cheque layout and send it to your Epson WorkForce flawlessly.
- Type the amount, payee, and date.
- Words will generate automatically.
- Check the live preview.
- Use ‘Absolute Placement’ if fields misalign.
- Load your cheque: Face-Up, Top Edge First.
- Use the Rear Paper Feed.
- Always test print on blank paper first!
- Hold it against the light with your real cheque.
Feeding Guide
How to load Epson WorkForce
Avoid paper jams and upside-down printing by loading your cheque correctly.
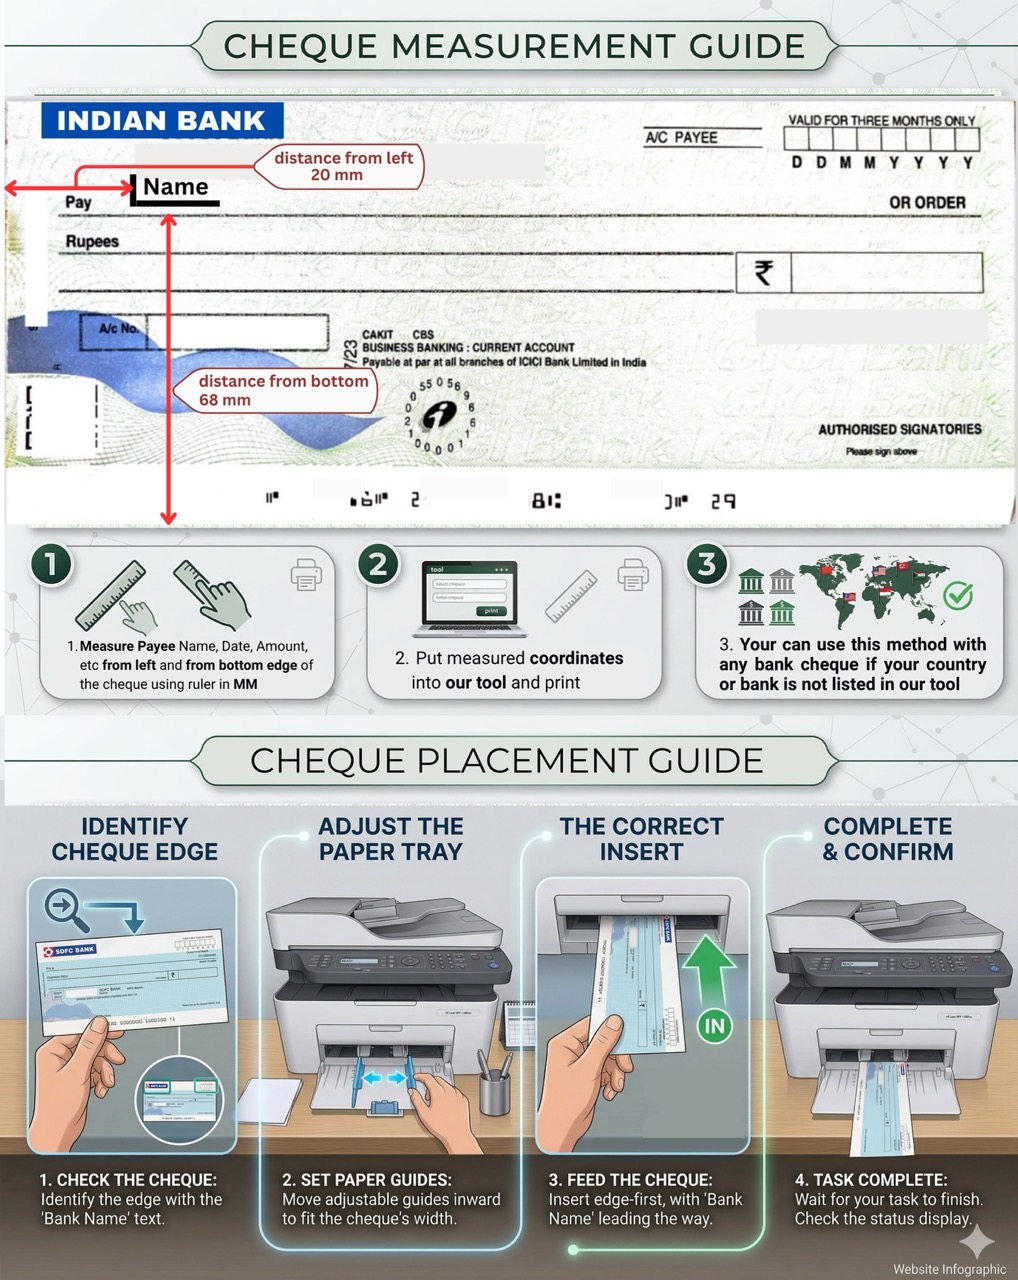
For this model, use the Rear Paper Feed to prevent the cheque from bending or skewing.
Place the cheque Face-Up, Top Edge First.
Slide the plastic paper guides tightly against the cheque edges so it pulls straight.
FAQ
Epson WorkForce Troubleshooting
Solutions for common formatting and printing errors.
Epson printers feed small paper best through the rear tray. Make sure the side guides are snug against the cheque to prevent crooked feeding.
Always let the heavy Epson ink dry for at least 20 seconds after printing before handling the cheque to prevent smudging.
This happens when your browser print scale is not set to 100%. Open ‘More Settings’ in the Chrome print dialog and ensure scaling is ‘Default’ or ‘100%’.
We strongly recommend printing cheques one at a time. Small cheque leaves easily stick together, leading to severe paper jams.